Update on Last Year's Acorns

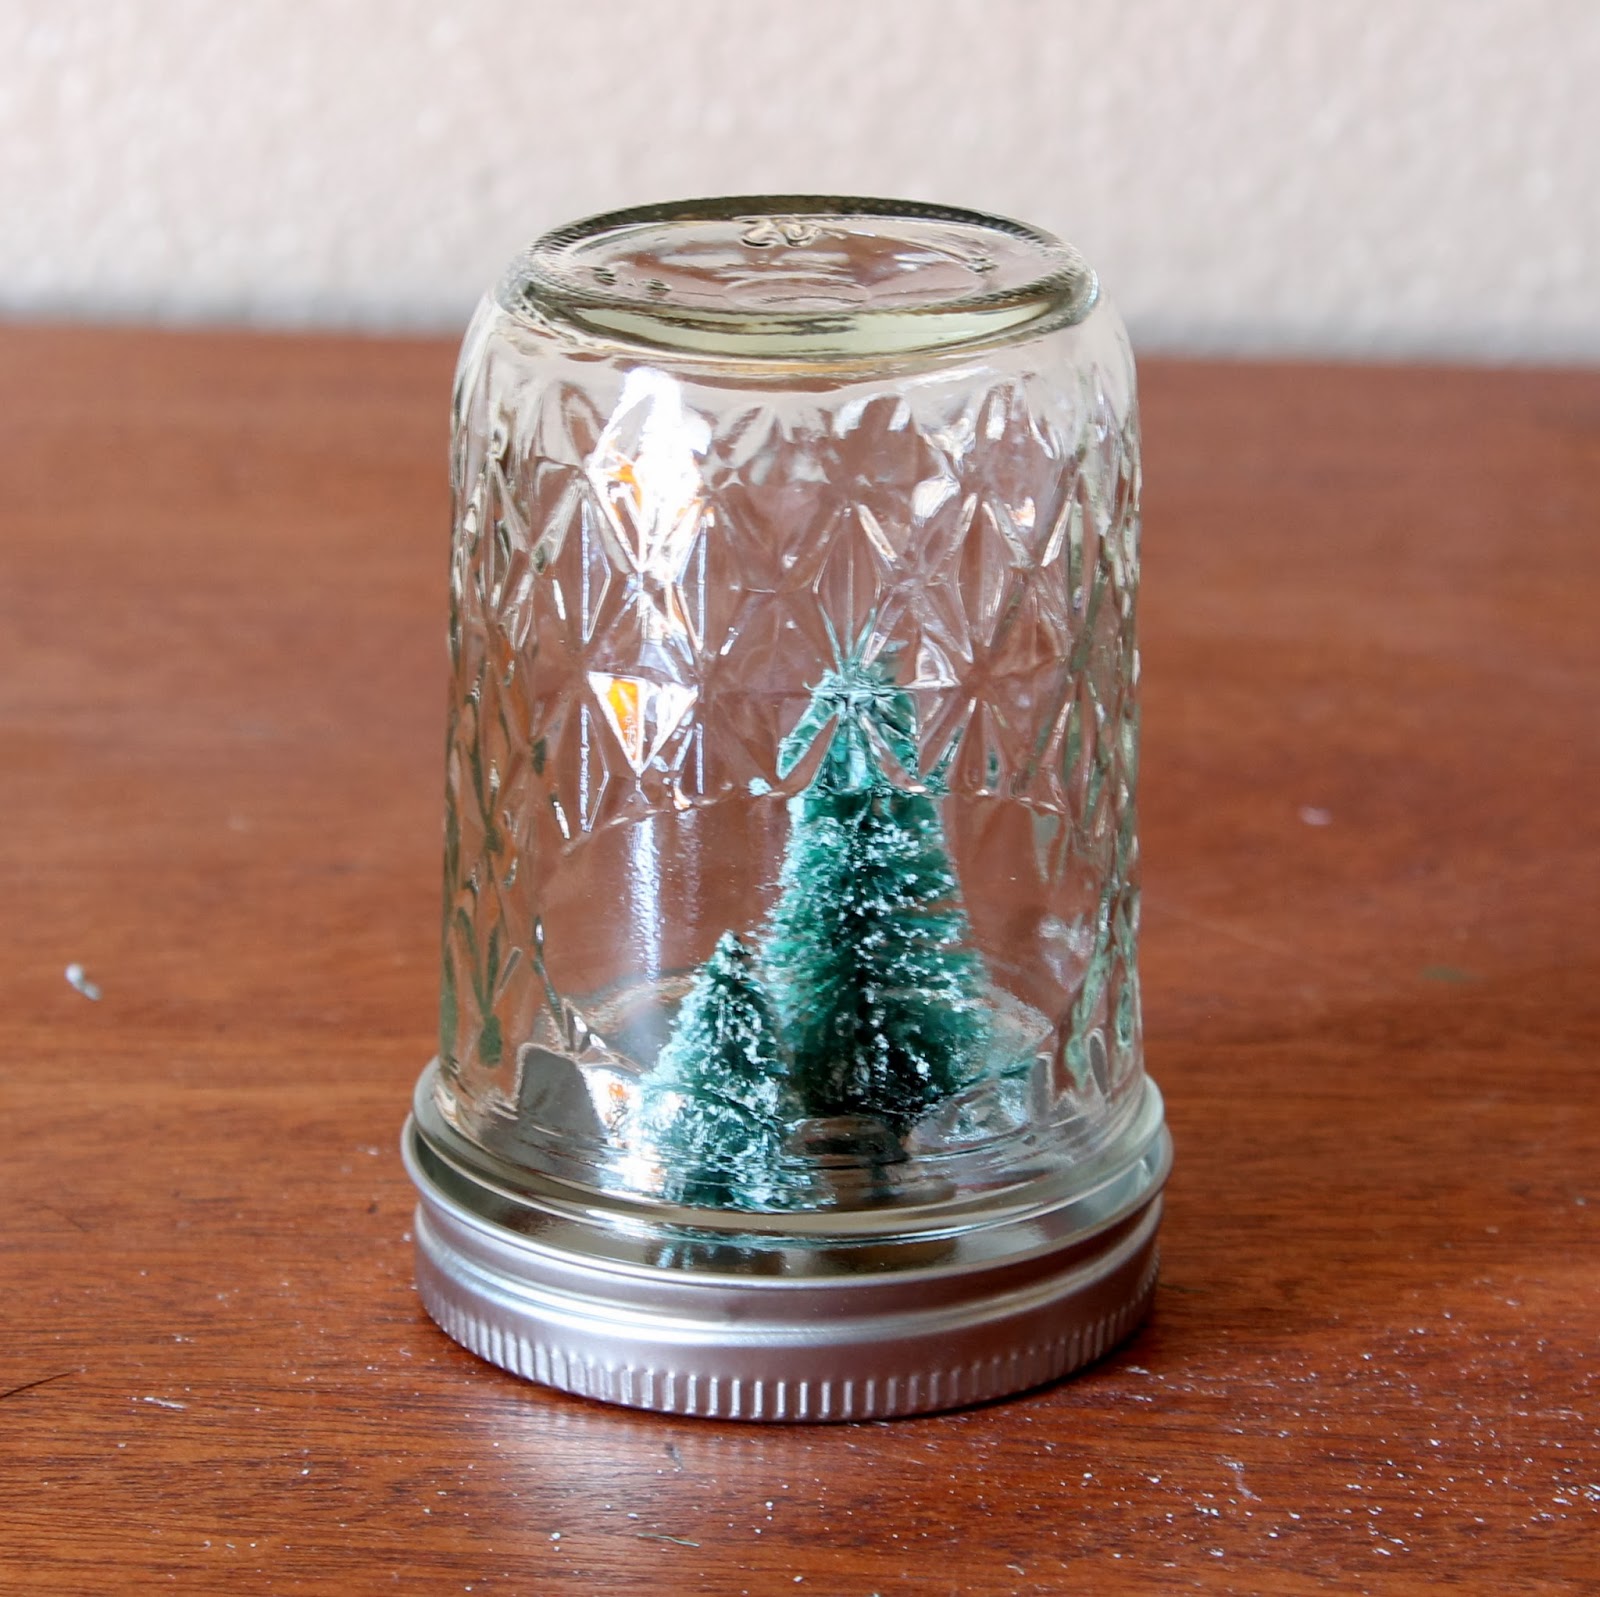
If you have followed me for a while on Facebook you may remember these...


The German glass glitter acorns.

If you haven't followed me on Facebook, here's the quick back story. We have a tree in our front yard that my parents planted when they owned the house. It's a type of red oak and has grown to be massive. So big that the most common response when I'm giving directions to our house is "Your house is the one with the massive tree? I LOVE that tree!"


Here's the thing about red oaks...they make acorns, lots of acorns. My dad would research if there was a market for acorns, he knew there was a gold mine sitting on his front yard.

Flash forward to fall of last year. My husband is losing his mind over the acorns all over the yard. My youngest decided to help dad out and collect as many as she could. She would collect bags full of them and bring them in for me. I was looking for something new to use my brand new German glass glitter on and grabbed a few and got to work covering them with glue and glitter. 

I snapped a few photos and put a photo on Facebook and people loved them. They loved them so much it even got me an invite to our local news station to share how I made them on a mid-day show for moms. And I may or may not have had a few day dreams about becoming the newest Texas millionaire off of glitter acorns.

I had my game plan set for this year and had the girls ready to collect them as soon as they saw them. So far this year I have made...

Zero...
Nada...
Zilch...

An interesting fact about red oaks, they will work their way up to record numbers of acorns and then take a year or two off. We have not seen a single acorn. It doesn't sound like my husband is mowing a field of rocks. And we have some very sickly squirrels hanging around waiting for their winter stockpile.

Make Your Own Snow Globe

I know, we haven't even celebrated Halloween yet and here I am with a Christmas tutorial! If you need to get in the Christmas mood, try Coffee-Mate Peppermint Mocha in your coffee. I've been struggling to get myself going on getting Christmas products made and a little of this in my coffee and I was annoying my husband with Christmas carols.

Now on to what you're here for...


Last year I was playing around and made this. It's a water-less snow globe that is so simple yet beautiful. Plus you don't have to worry about the water leaking or turning that weird cloudy mess that they sometimes do.


I wanted to make more, but my holiday orders started way quicker than I expected. Plus I'm super afraid to make these to ship since they are glass. The good news? They are super easy and inexpensive to make!

Here is a photo of the must have supplies:


A variety of Christmas trees (or whatever you want to use), artificial snow flakes (if you are close to a Hobby Lobby these are 40% off!), some type of glue and glass jars. I use the E6000 since mine are for sale and I would like whatever I put in there to stick. And for the glass jars, you can use whatever you have on hand, just make sure that they are cleaned out very well. All you moms with little ones still eating baby food, instant Christmas gifts from the little one!

Here are the fun things to add, this is where you can go crazy with ideas.


I had baker's twine, bells, mini tree ornaments and a small wreath on hand to use. I also had some glitter that's not in the picture.

Take the lids off the jars you are using and do a dry run to see how everything fits.


You can group trees together or even try using the jar standing upright. As you can see below, I decided that the tall jar was too big for the trees and swapped it out for the medium size one.


Take your glue and dab a bit to the bottom of your tree. If you are using the E6000 or something that has a bit of time until it sets up, let it sit for a minute or so to let the glue get a little more tacky. You'll see why in the next photo.


See the poor tree on the left leaning? I liked the quirkiness of it so I let him be, but if you prefer yours to stand at attention, let the glue set up a bit and then hold it in place for about 30 seconds.


This is the messy part, adding the snow. One thing I found is that when you are using the jar upside down, it's easier to add a little snow in the lid first and then add more to the jar if you would like more. Fill it up as far as you would like!

At this time is when I added some glitter to this set. I use a product called Glamour Dust, it's a very fine glitter and it will stick to you. I used some to give some of my Halloween decorations a bit of sparkle and I looked like a walking disco ball when the light hit me for a few days!


I give it a little shake so that it will cling to the jar and give it a little sparkle.


I used some of the mini Christmas ornaments in this one for a little color.


Next is to add the lids! Since there is no water involved there is no need to use glue to permanently seal them. Now you can dress them up on the outside if you feel like it. If they are gifts for the grandparents the kids can sign the lid or even use the round labels they make for the canning jars.


I just wrapped some baker's twine around the top of one jar and added a few bells for some jingle.

I used the mini wreath to display the other one if you are looking for a more simple look.


Like I said before, you can use so much more than trees for your snow globes. I found these guys at Hobby Lobby.


They stand about 3 inches tall and are so fun in jars!


I also added some vinyl lettering to dress him up.

The possibilities are endless when it comes to making these and they are so simple that they are great for little ones to help with! If you have any questions or I missed something, leave me a comment. I would love to see some of your creations also! Feel free to share a picture on my Facebook page!

Sometimes I surprise myself...sometimes.

This weekend begins the holiday season in Salado with Christmas in October. Last year was my first year having a booth in a store there and didn't realize how important it is to be at least one season ahead and have been working on some goodies to bring....

Like this sign.


I wanted to attempt to make something rustic, like it had been passed down through the family. It took everything I had not to cover it in a thick coat of paint.


To leave some of the small mistakes I had made (like the paint drip that looks like it belongs).


And to sand it more than I was comfortable with. I had changed my mind at the last minute to change the shading to gray and went against my normal routine and just painted over the red. If I could have sanded it with my eyes closed so that I couldn't see the gray disappearing  in some spots, I would have. But that also comes with the risk of losing a major portion of skin and I really don't have time for that.

This sign is nothing like I expected...and that's a good thing. I am in love with the roughness around the edges, the contrast with the gray and red, and the message it conveys.

Another great thing about this sign...


It's made out of cedar, which makes it great for outside. But the back is not painted for a reason. The smell. There is something about the smell of cedar that I love and have found quite a few people that agree.

So, it's hard to let this sign go, especially since it taught me that going against my usual ways is good.

And I may just surprise myself...

Growing Pains

Things have been painstakingly slow here lately at block.paper.scissors.. (Sorry for the false advertisement of my title if you were expecting to talk about one of my favorite shows growing up!)

One secret of having a great online presence is having great photos. I got my DSLR camera for Christmas which helps, but doesn't guarantee great photos. I have tried reading websites and the manual to the camera but after the first few sentences my eyes glass over and everything looks like it's written in a foreign language.

A few weeks ago I found this blog post written by Miss Mustard Seed. If you have ever been interested in amateur photography, trust me, this blog post is worth your time. It's written for those of us that are trying out photography for the first time. I finally broke out the tripod, switched that camera to the big M and started messing with the different buttons and dials. 

It helped me take this:


(The color of this sign is butter pecan but it leaves you to wonder if it's beige, maybe gold? And what's with the super bright center?)

To this:


A butter pecan that actually looks like pecan! (And it doesn't look like it's radiating light on it's own.)

And what kind of pink is this?


Bet you didn't guess dusty rose!

So, I am now retaking photos of items in my Etsy shop which slows me down quite a bit. No pain, no gain. Right?!


Has It Been A Year?

What?! It really has been a year since the last time I even signed in to Blogger. This time I am determined to keep up with this, especially since it's getting harder to keep in touch with fans on Facebook. I have so much that I want to share about this crazy little business and life in general and this will be the easiest way possible!

Please hang in there as I figure out all the tricks to this. I just now figured out how to add my favorite blogs on the right and would love to add a link to yours if you have one. Next thing to tackle? Getting everything set up for you to get notifications by email when a new blog post is up! (If you have experience in this I would greatly appreciate the help!)

Let me know what you think of the new look, or the look if this is your first time visiting, and if there is anything you would like to see me write about!