
Now on to what you're here for...

Last year I was playing around and made this. It's a water-less snow globe that is so simple yet beautiful. Plus you don't have to worry about the water leaking or turning that weird cloudy mess that they sometimes do.
I wanted to make more, but my holiday orders started way quicker than I expected. Plus I'm super afraid to make these to ship since they are glass. The good news? They are super easy and inexpensive to make!
Here is a photo of the must have supplies:

A variety of Christmas trees (or whatever you want to use), artificial snow flakes (if you are close to a Hobby Lobby these are 40% off!), some type of glue and glass jars. I use the E6000 since mine are for sale and I would like whatever I put in there to stick. And for the glass jars, you can use whatever you have on hand, just make sure that they are cleaned out very well. All you moms with little ones still eating baby food, instant Christmas gifts from the little one!
Here are the fun things to add, this is where you can go crazy with ideas.

I had baker's twine, bells, mini tree ornaments and a small wreath on hand to use. I also had some glitter that's not in the picture.
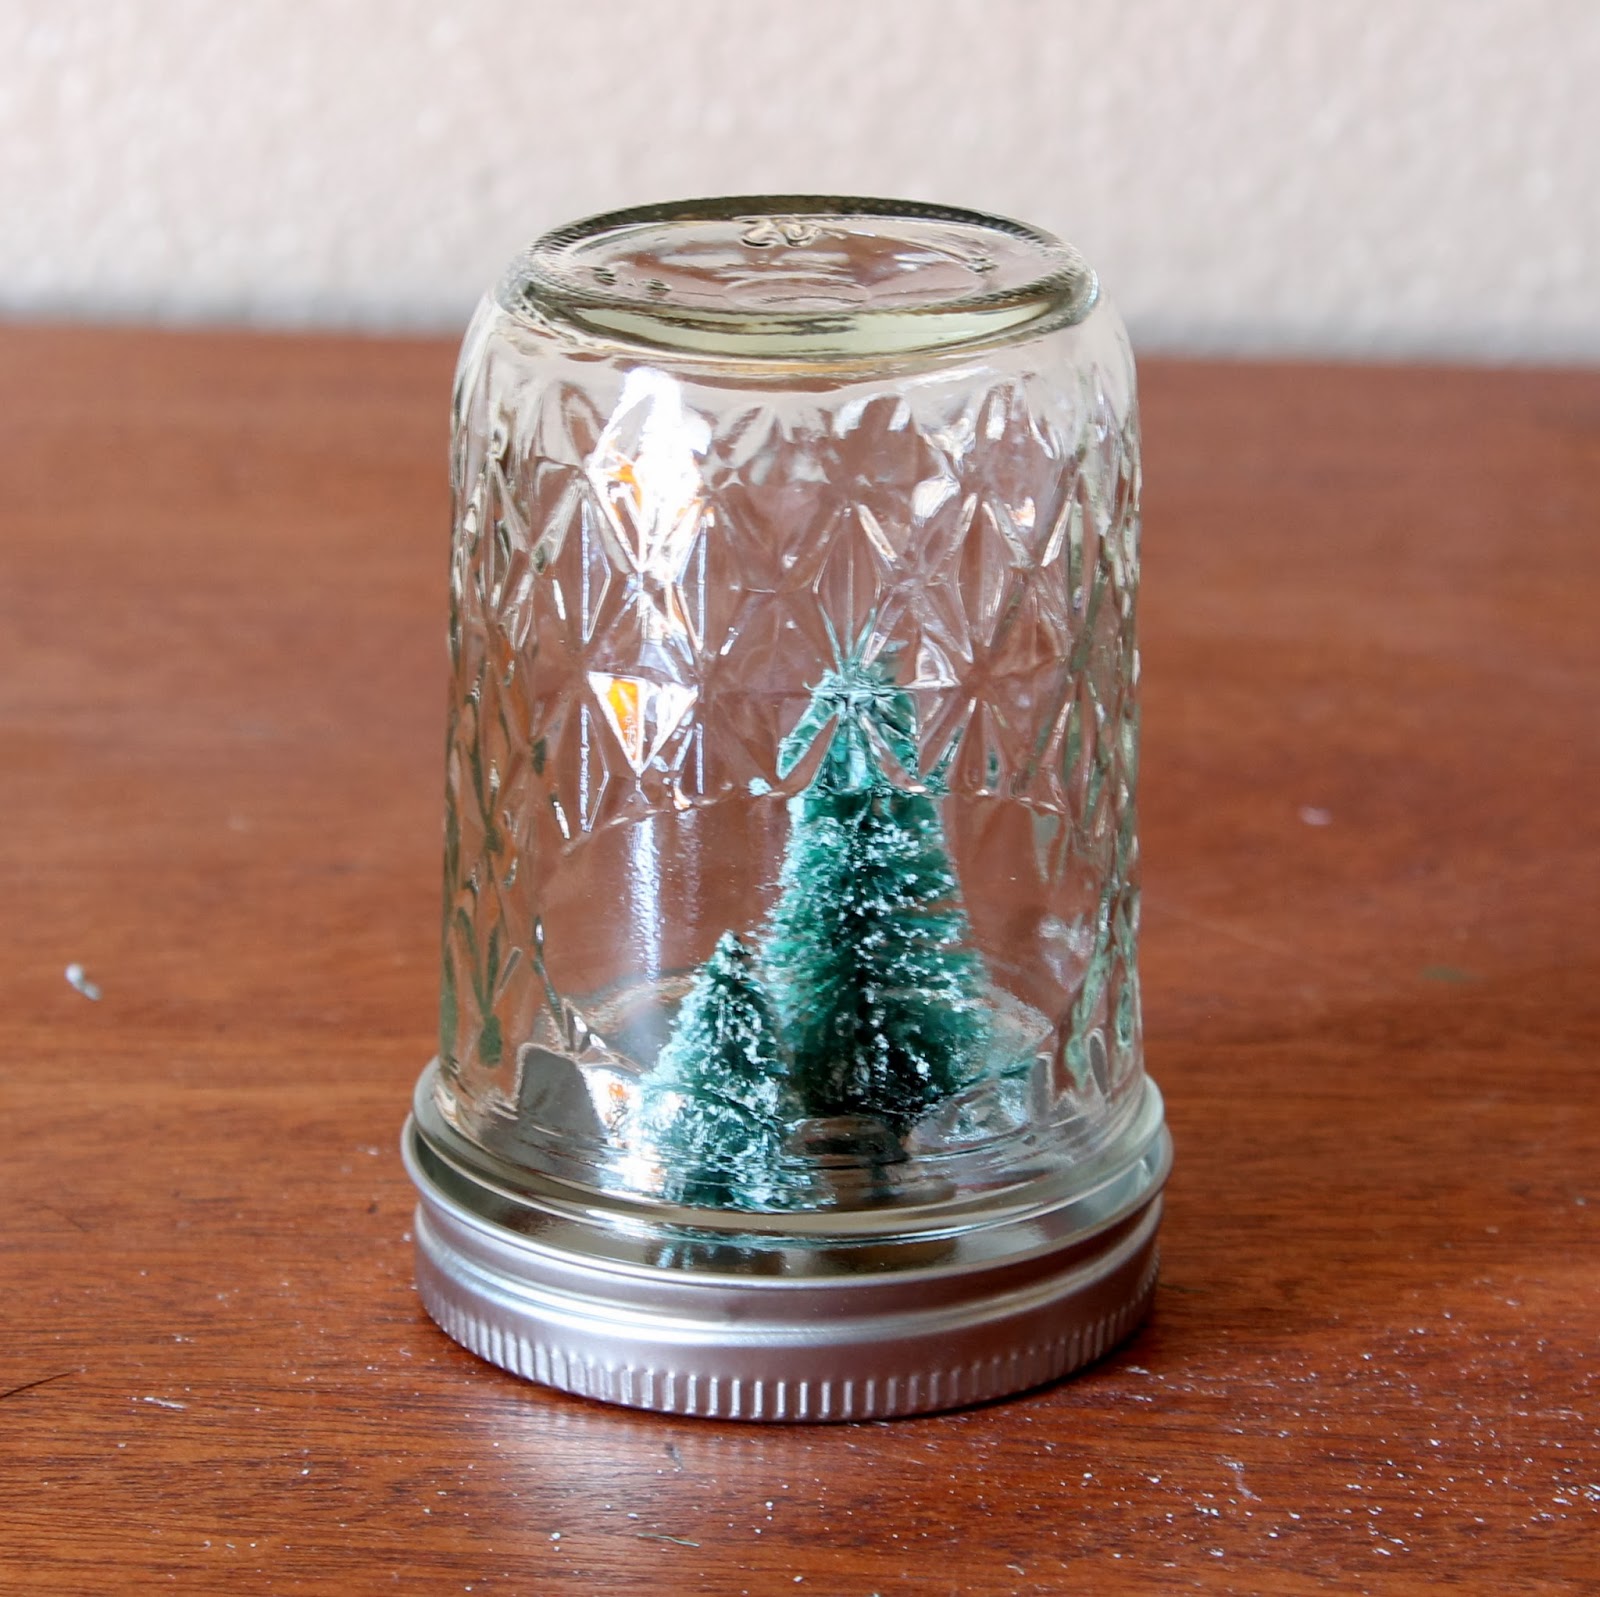
Take the lids off the jars you are using and do a dry run to see how everything fits.

You can group trees together or even try using the jar standing upright. As you can see below, I decided that the tall jar was too big for the trees and swapped it out for the medium size one.
Take your glue and dab a bit to the bottom of your tree. If you are using the E6000 or something that has a bit of time until it sets up, let it sit for a minute or so to let the glue get a little more tacky. You'll see why in the next photo.

See the poor tree on the left leaning? I liked the quirkiness of it so I let him be, but if you prefer yours to stand at attention, let the glue set up a bit and then hold it in place for about 30 seconds.

This is the messy part, adding the snow. One thing I found is that when you are using the jar upside down, it's easier to add a little snow in the lid first and then add more to the jar if you would like more. Fill it up as far as you would like!
At this time is when I added some glitter to this set. I use a product called Glamour Dust, it's a very fine glitter and it will stick to you. I used some to give some of my Halloween decorations a bit of sparkle and I looked like a walking disco ball when the light hit me for a few days!

I give it a little shake so that it will cling to the jar and give it a little sparkle.

I used some of the mini Christmas ornaments in this one for a little color.

Next is to add the lids! Since there is no water involved there is no need to use glue to permanently seal them. Now you can dress them up on the outside if you feel like it. If they are gifts for the grandparents the kids can sign the lid or even use the round labels they make for the canning jars.

I just wrapped some baker's twine around the top of one jar and added a few bells for some jingle.
I used the mini wreath to display the other one if you are looking for a more simple look.

Like I said before, you can use so much more than trees for your snow globes. I found these guys at Hobby Lobby.

They stand about 3 inches tall and are so fun in jars!

I also added some vinyl lettering to dress him up.
The possibilities are endless when it comes to making these and they are so simple that they are great for little ones to help with! If you have any questions or I missed something, leave me a comment. I would love to see some of your creations also! Feel free to share a picture on my Facebook page!


No comments:
Post a Comment